Q: I have some wonderful PPT files and want to enjoy it on my HTC Rhyme. Can anyone tell me how to watch PPT on HTC Rhyme?
A: In fact, we can just convert PPT to video if we want to watch it on smartphones. As we know, HTC Rhyme can well support videos like 3GP, MP4, WMV, AVI, 3GP2 and XVID, etc. Thus, we just need to convert PPT to 3GP or any videos HTC Rhyme can support. Next, let’s evaluate how to convert PPT to 3GP with a PPT to video converter.
Download and install the PPT to video converter.
Step 1: input PPT files
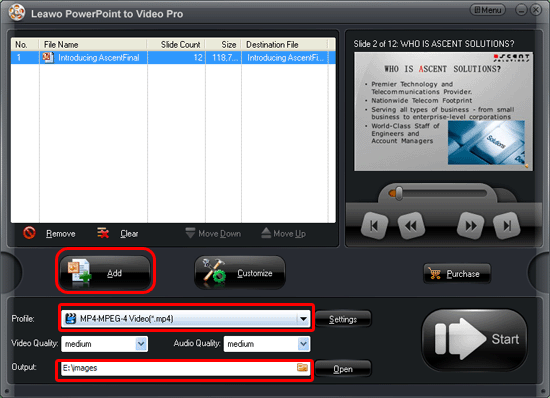
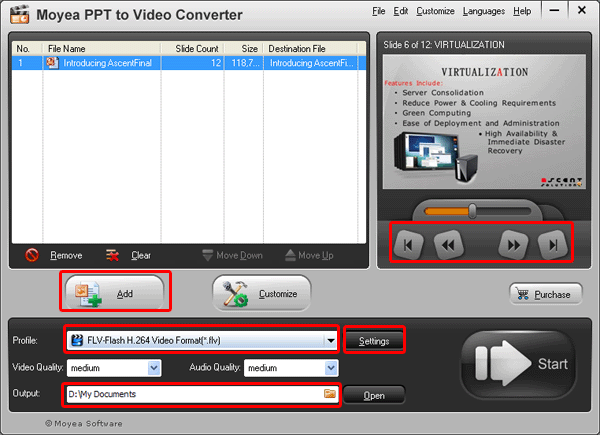
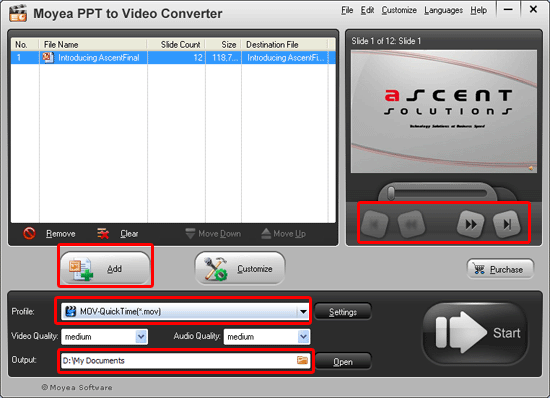
Simply input the PPT files by clicking the add icon or directly drag and drop.

The buttons under the view screen is provided to be clicked for previewing. In addition, you should set the output video as 3GP and select a folder for the generated video here.
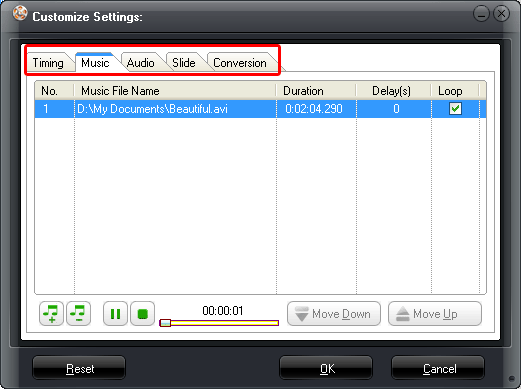
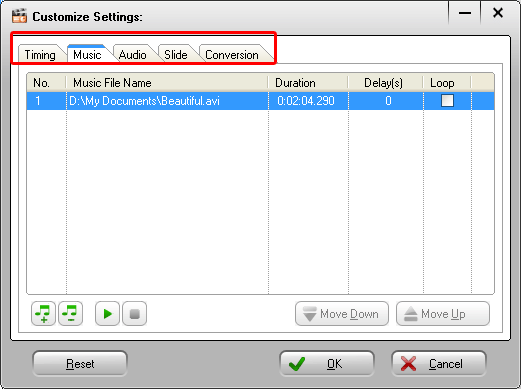
Step 2: customize
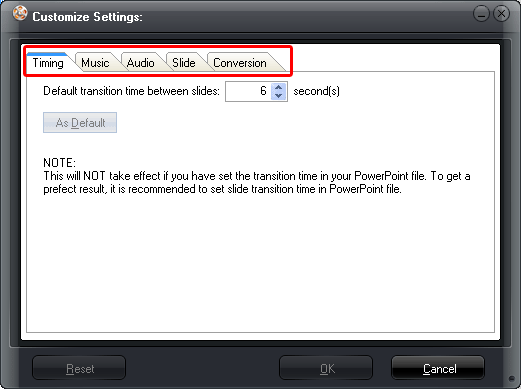
After load the PPT file, you can simply click “customize” to customize timing, slides, audio, conversion and music.

Add background music for the output video and set transition time between slides for better watching on HTC Rhyme. Do remember the transition time between slides shouldn’t be less than 6 seconds.
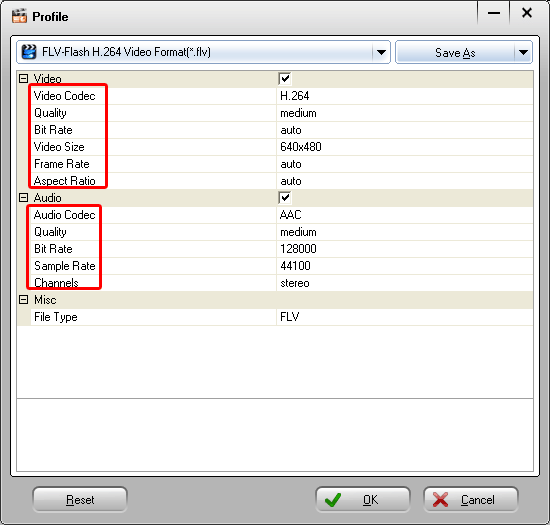
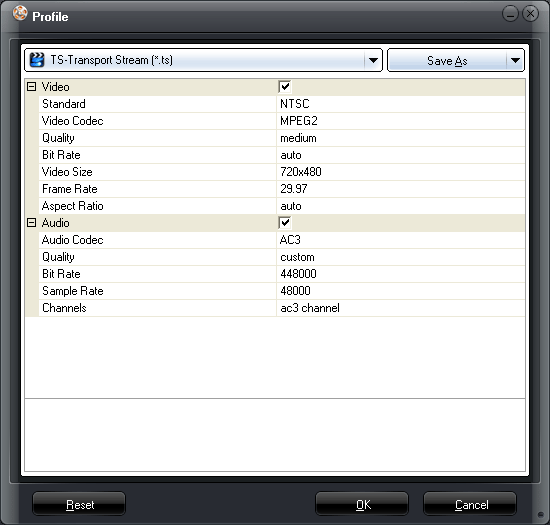
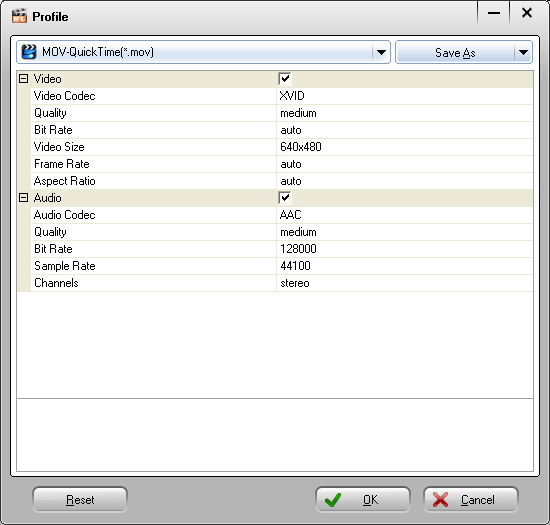
Step 3: audio and video settings
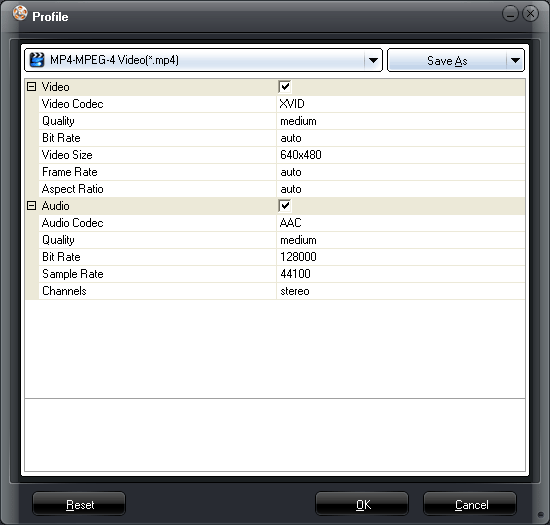
Press the settings icon to start the audio and video settings of the PPT to 3GP conversion.

Bite rate, audio and video codec, video quality, audio quality and many other audio and video parameters can be adjusted here.
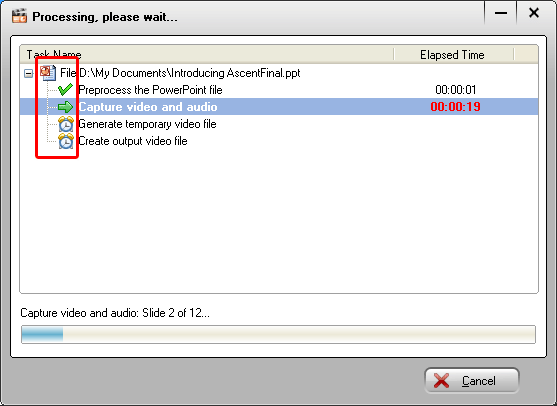
Step 4: convert PPT to 3GP
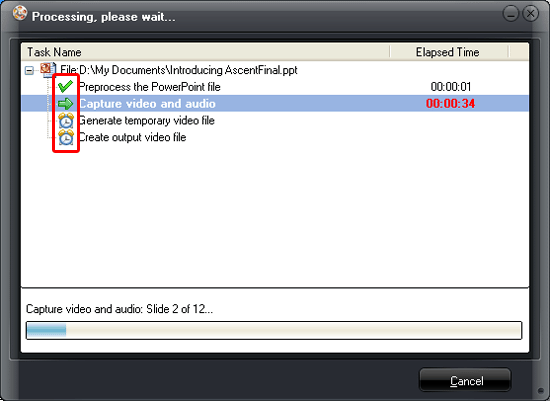
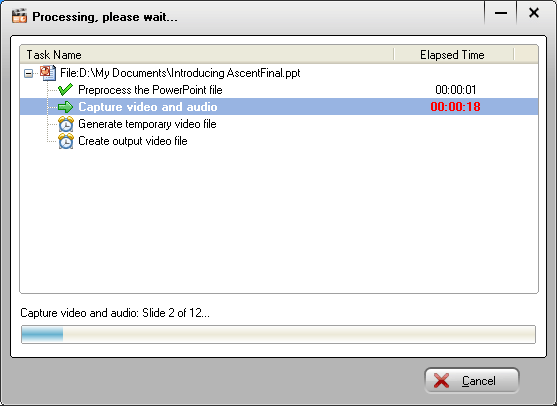
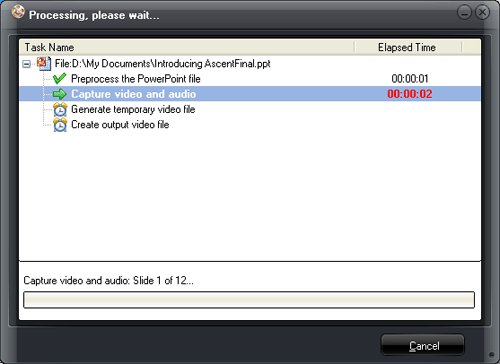
When you finish all the settings, you should click “start” to start the PPT to 3GP conversion.

The PPT to video converter will show you the PPT to 3GP converting procedure. After the PPT to 3GP conversion, the program will open the output folder for you.
Now you can view the file on your HTC Rhyme.


Recent Comments